1. Advanced Data Networking Configuration
Caution! The settings described in the following topics are expert settings that should not be modified unless you are instructed to do so by your Vertical Technical Support representative.
When configuring dial-up routing, you will typically configure the parameters only once, when you install and configure Vertical Wave the first time. If you change ISP providers or access numbers, you may need to modify these settings.
Configuring dial-up routing requires you to configure demand-dial interfaces. To configure demand-dial interfaces, you must create an entry for each remote location (ISP, headquarters, another sales office) to which you want to dial out. The RRAS administrator stores the settings needed to connect to a particular remote router or network in a “phone book entry.” Once an interface is configured in RRAS, it acts like any server.
Note: When configuring an internal modem for dial-out routing, you cannot configure the modem to dial digits following the connection of the call. For example, you cannot configure an internal modem to dial a number, delay, and then dial more digits.
After initial configuration, you will only need to modify these settings if you add remote locations or change phone access numbers.
Typically, you configure dial-up routing for both dial-in and dial-out capabilities. You can configure for only one or the other, and if you do, how you define dial-out properties depends on several things. Various possibilities are described in the following table.
|
Modem Port Usage |
Enables |
Wave Variables |
|
Dial out as RAS client |
The Wave Server behaving as a dial-up client, calling a server/router. A WAN device will be used for outbound dial-on-demand connections. |
This is typically used only for debugging or testing Wave connections, because it creates a client-to-server connection, where Wave is the client—instead of a network-to-network connection. |
|
Receive calls as RAS server |
Outside clients (non-network- connected users) calling into Wave. WAN devices will be used for inbound dial-on-demand connections. |
If you have a T-1 data line to the Internet, you could select this option for one WAN device to provide remote access for employees. |
|
Dial out and receive calls as a demand-dial router |
The Wave Server calling an ISP (a network-to-network connection from one router to another). WAN devices will be used for inbound and outbound dial-on-demand connections. |
If you have a T-1 data line to the Internet, you could select this option for any WAN device. |
Caution! When connecting two Wave Servers together using ISDN, set the network side of the connection to the linear hunt type and the user side to the reverse linear hunt type. For more information about GLARE, see Minimizing Glare.
Configuring network services
The following
| • | Configuring network routing protocols |
| • | Configuring the Wave Server as a network services (DNS or WINS) client |
| • | Configuring DHCP relays |
| • | Setting up static routes |
Configuring network routing protocols
By default, the routing protocols described in the following topics are installed but not configured on the Wave Server, as they are not typically required for most configurations.
Configuring routing information protocol (RIP)
Hint: If you are using RIP with multiple connection lines and want line speed taken into account during routing, modify routing protocol metrics accordingly when configuring an interface or when adding a static route.
Note: Unlike making network settings changes, when using RRAS, your changes will take effect immediately; the Wave Server will not restart.
To configure RIP
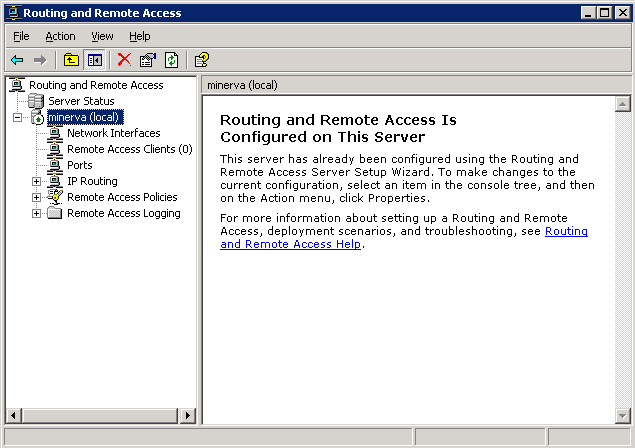
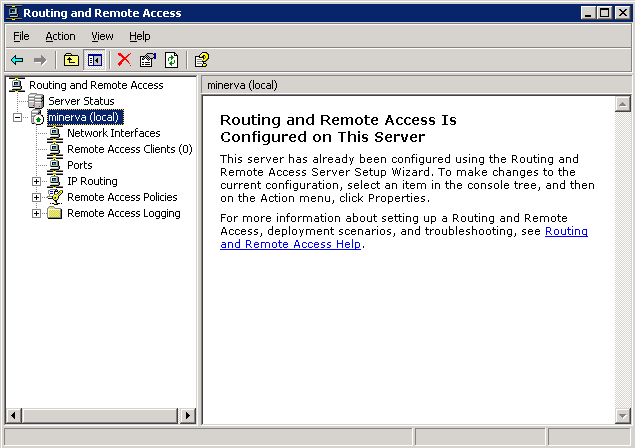
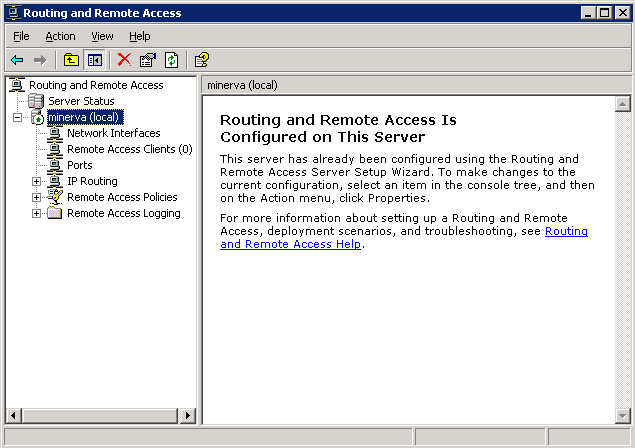
| 1 | Click Microsoft RRAS under Data Administration on the General Administration tab of the Management Console. Log on using your Wave username and password. The Routing and Remote Access dialog opens. |
For more information about logging in with a remote connection, see Remote access applets.

| 2 | Add the RIP protocol. |
Right-click the General folder under IP Routing, and choose New Routing Protocol. In the New Routing Protocol dialog, click RIP Version 2 for Internet Protocol and click OK.
| 3 | Select each interface on which you want to enable the routing protocol. |
Right-click RIP in the IP Routing folder and select New Interface. Select the desired interface, then click OK. Configure the Internet properties for that interface on the dialog that opens, then click OK.
| 4 | Close the Routing and Remote Access dialog to return to the Management Console. |
Note: If you are routing across a WAN, be sure to configure the WAN interface on the Integrated Services Card with RIP. Auto-static, static, and default routing can be used with demand-dial interfaces. Auto-static makes static routing table entries, and is used only for demand-dial connections, and only with other Wave Servers or with a remote Microsoft Windows server acting as a router. Periodic polling will keep a line up all the time, and should be used only with persistent connections.
Configuring the open shortest path first (OSPF) routing protocol
To configure OSPF
| 1 | Click Microsoft RRAS under Data Administration on the General Administration tab of the Management Console. Log on using your Wave username and password. The Routing and Remote Access dialog opens. |
For more information about logging in with a remote connection, see Remote access applets.

| 2 | Add the OSPF protocol. |
Right-click the General folder under IP Routing, and choose New Routing Protocol. In the New Routing Protocol dialog, click “Open Shortest Path First (OSPF)” and click OK.
| 3 | Select each interface on which you want to enable the routing protocol. |
Right-click OSPF in the IP Routing folder and select New Interface. Select the desired interface, then click OK. Configure the Internet properties for that interface on the dialog that opens, then click OK.
Note: If the interface you want to add is not shown in the Select Interface dialog, add it to the Summary by choosing Add Routing Protocol from the Actions menu.
| 4 | Close the Routing and Remote Access dialog to return to the Management Console. |
Note: Before starting this procedure, ensure you have the IP address of your DHCP server.
To enable and configure a DHCP relay agent
| 1 | Click Microsoft RRAS under Data Administration on the General Administration tab of the Management Console. Llog on using your Wave username and password. |
For more information about logging in with a remote connection, see Remote access applets.

| 2 | Right-click DHCP Relay Agent in the IP Routing folder and select New Interface. |
| 3 | Select the desired interface and click OK. |
| 4 | Click OK to return to the Management Console. |
To set static routes
| 1 | Click Microsoft RRAS under Data Administration on the General Administration tab of the Management Console. Log on using your Wave username and password. |
For more information about logging in with a remote connection, see Remote access applets.
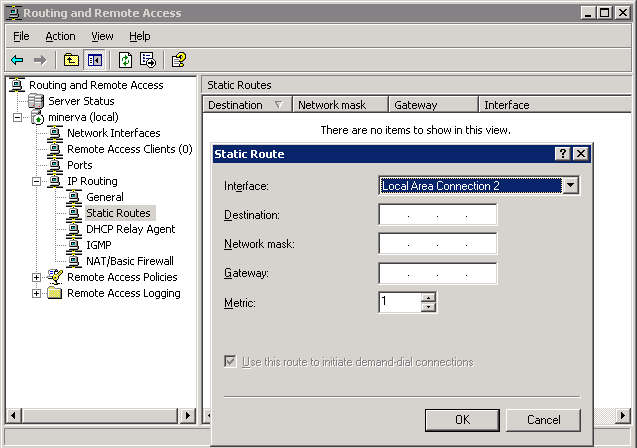
| 2 | Right-click Static Routes in the IP Routing folder, and choose New Static Route. The Static Route dialog opens. |

| 3 | Select an Interface from the drop-down list. |
| 4 | Type a Destination IP address, subnet Network mask, Gateway, and Metric. |
| 5 | Click OK. |
| 6 | Close the Routing and Remote Access dialog to return to the Management Console. |
Note: When you are configuring for a demand-dial modem connection, you must create a static route for each modem connection to the ISP/headquarters because it is not part of a larger network. If you know the IP address of a remote office, you can put it in the static routing table. You will typically create a default static route (IP address 0.0.0.0, subnet 0.0.0.0, and an appropriate gateway address) to be used as a last resort for packets that Wave does not know where to send. When you are configuring a static route for a digital connection, you must enter the gateway address, which is the IP address for the router on the other side of the digital connection, sometimes called the far end or next hop router. If you configure a gateway address, you will set up a default static route to that gateway.